
- Begin by examining the image below whose reconstruction will be the objective of the puzzle.
- Press the Scramble button in order to mix up the tiles randomly.
- Re-assemble the tiles in their correct order by relocating the tiles in pairs. This is done by first single-clicking on a tile. Then, after single-clicking on any second tile, the two tiles will swap their positions. If you need some help, you can click on the Show/Hide Hint button to display the original image. Moreover, the Show/Hide Errors button will indicate the misplaced tiles.
- When all the tiles are back in their original locations, you will be notified.
- Finally, if you press the I Give Up! button, the misplaced tiles will be relocated to their correct position.

X
|
X
|
X
|
X
|
X
|
X
|

X
|
X
|
X
|
X
|
X
|
X
|

X
|
X
|
X
|
X
|
X
|
X
|
X
|
X
|
X
|
X
|

X
|
X
|
X
|
X
|
X
|
X
|
X
|
X
|
X
|
X
|
X
|
X
|
X
|
X
|

X
|
X
|
X
|
X
|
X
|
X
|
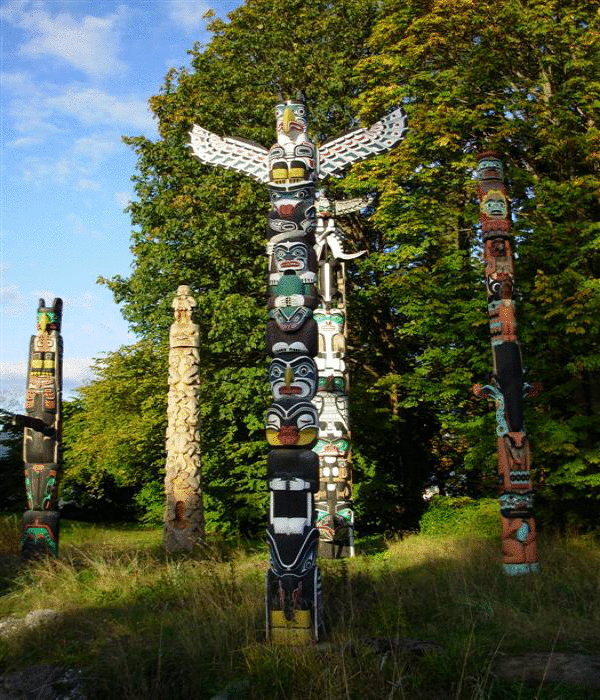
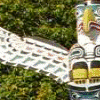
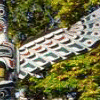
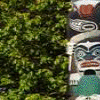
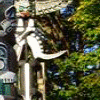
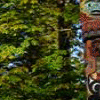
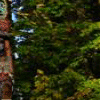
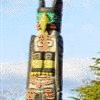
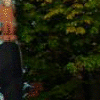
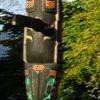
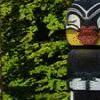
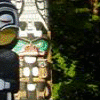
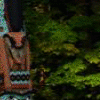
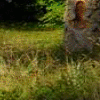
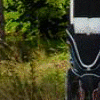
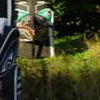
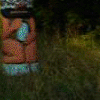
West Coast totem poles in the evening sunlight, Stanley Park, Vancouver
October 2009.
L-R: Oscar Matilpi Pole, Beaver Crest Pole, Wakas Pole (centre rear),
Ellen Neel Pole (centre front), Sky Chief Pole
Details: Oscar Matilpi Pole, carved by Oscar Matilpi in 1968; Beaver Crest Pole, carved by Norman Tait in 1987;
Wakas Pole, replica carved by Doug Cranmer in 1987; Ellen Neel Pole, carved by Ellen Neel in 1955;
Sky Chief Pole, carved by Art Thompson and Tim Paul in 1988.
For more details see: Jensen, Vicki (2004) Totem Poles of Stanley Park.
Westcoast
Words, Vancouver, B.C. 80 pages.
Acknowledgement: Thanks to Yves Beaudoin (Webpraxis Consulting Ltd.)
for coming up with the idea and developing the Perl scripts for this puzzle.
![]()
![]()
![]()
![]()
![]()
Alwynne B. Beaudoin (bluebulrush@gmail.com)
Latest update: August 7 2011